Hello dear friends!
Today I want to introduce you to my new addiction,
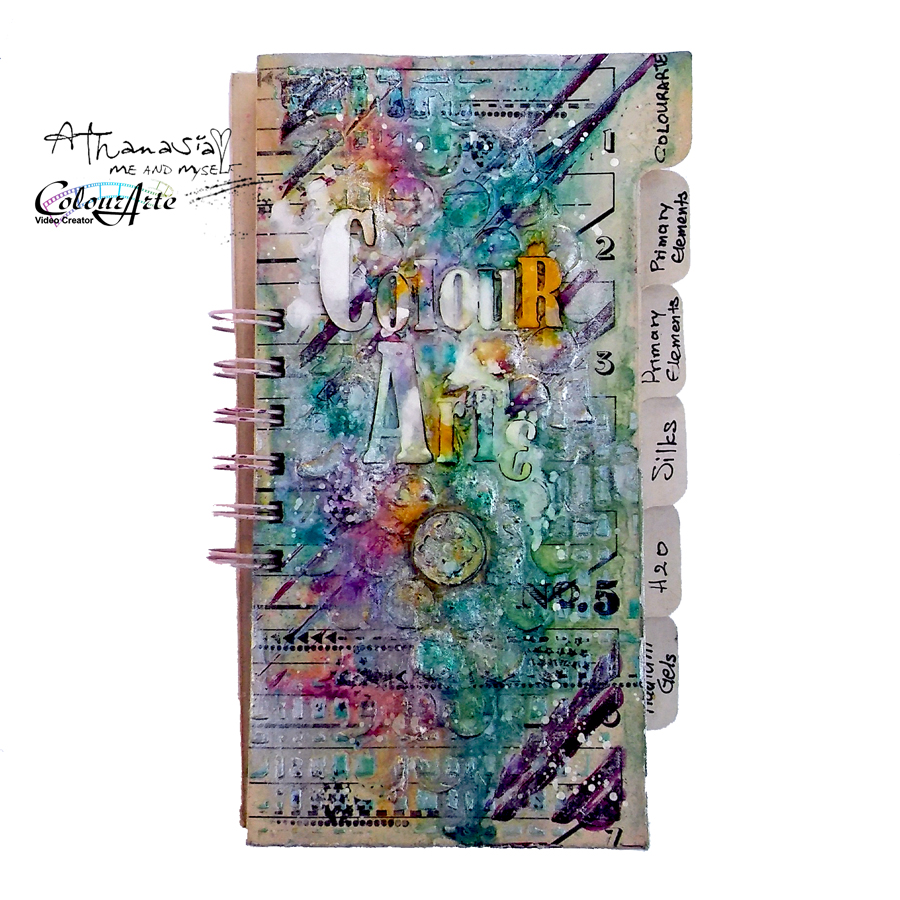
the DENIM JOURNAL designed by Finnabair!

I made the first page the very day I got it and as I was so excited about it, I couldn't kept myself to stop, so I decided to decorate it a little bit and fill all these cute pockets with my art supplies :)
Starting from the left to right:
The pocket at the left side of the journal is big enough to fit the Silicone Brushes, as well many other supplies like thread, wire, scraps, envelopes, little bags with art ingredients and anything else you can think of!
The plastic pocket sheet has the same size (7x9") with the rest of the pages (I folded it in half to look better in the photo above) and is perfect to store all your scraps, photos, paper embellishments, stickers, chipboards and more. I currently filled it with Finnabair's Ephemera.
The big thick denim sheet (10x9") is the last page of the journal, and I love how it extends, as it' s wider than the rest of the pages. I stitched some buttons and mechanicals to have them in stand by and pinned a couple of needles. Of course I' ll fill the rest of the page over time :)
The five holes at the right side of the journal are perfect for keeping brushes, pens, pencils, scissors, etc.
So, that was all with my decorations and storing in my Denim journal :)
...
Let's focus on my art journal page I created for my Prima guest spot.
My project is based at new Finnabair recipe...

 "Winners are not those who never fail,
My project is based at new Finnabair recipe...
Rust Pastes+ Resist Canvas + Crackle Pastes + Art Alchemy Paints = a spectacular Finnabair recipe!
...and here it is...

but those who never quite"
The project is based on this beautiful Mechanical Butterfly which I broke in two pieces by mistake.
I got upset but just for a while.
Then I thought: let's make a page with this broken butterfly, it will be a challenge, but I like challenging myself !
And so I did :)
I chose this inspiring quote because I think it fits perfectly with the broken wing.
You just have to keep going, even your wing is broken...

I cut this beautiful Resist Canvas 'Honeycomb' in the size of the journal's pages,
punched the holes and eyelets with the cropadile and started working.
I scratched with my nails the edges all around the canvas and with a paint brush I added some amount of Clear Sculpture Medium to seal these spots and make sure they will not fray in the future.

Then I used the Black Gesso to create some circles as the focal point of the page.
I also applied the White Crackle Paste here and there with the Silicon Brush (I love this brush, it's perfect for this technique) and let it dry outside naturally. It took about an hour.

When it was dry I played with the Art Alchemy Acrylic Paints.
I painted here and there with a paintbrush and sprayed some water on them to create a watercolor effect. Then I glued all the metal embellishments with the Clear Sculpture Medium and while it was wet I spread some Bronze Micro Beads and Black Glass Glitter.

I used all three colors of the Rust Paste Set to paint all the metal embellishments and some other spots and as a final touch I made some splashes with the Black Gesso and stamped with a couple of stamps here and there.

I really enjoyed creating this page and that was only the start!
I'm going to fill this Journal like crazy :)

***for full supplies list and links on the Prima online store please visit this post.
Thank you for visiting,
have a lovely crafty day!
xxx
Athanasia